Get started with the “Order now” button

Overview
- Why add an “Order now” button to your site?
- How it works
- Step-by-step: Installation guide
- Website-specific instructions
- Other Platforms
Why add an “Order now” button to your site?
Adding our customizable “Order now” button is a smart way to drive more traffic and sales from your website. Compared to a regular menu link, this button has helped some merchants increase online orders by 20–200%.
It’s mobile-friendly, easy to set up, and makes it easier for your customers to order, especially on the go.
How it works
You (or your Wolt contact) will:
Configure the button in Merchant Portal (at the business level, not venue).
Copy a short code snippet.
Paste it into your website’s settings.
That’s it. Once installed, your site will show a floating “Order now” button and optionally, a popup for first-time visitors.
Step-by-step: Installation guide
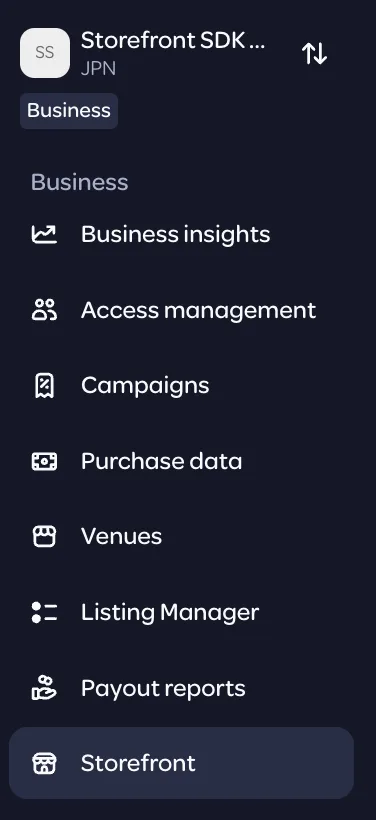
Step 1: Set up your button in Merchant Portal
Log in at merchant.wolt.com.
Make sure you’re in the Business view (not venue).
Go to: Storefront → Website button or use this format: https://merchant.wolt.com/experience/merchant/<merchantid>/s/<venueid>/storefront/sdk
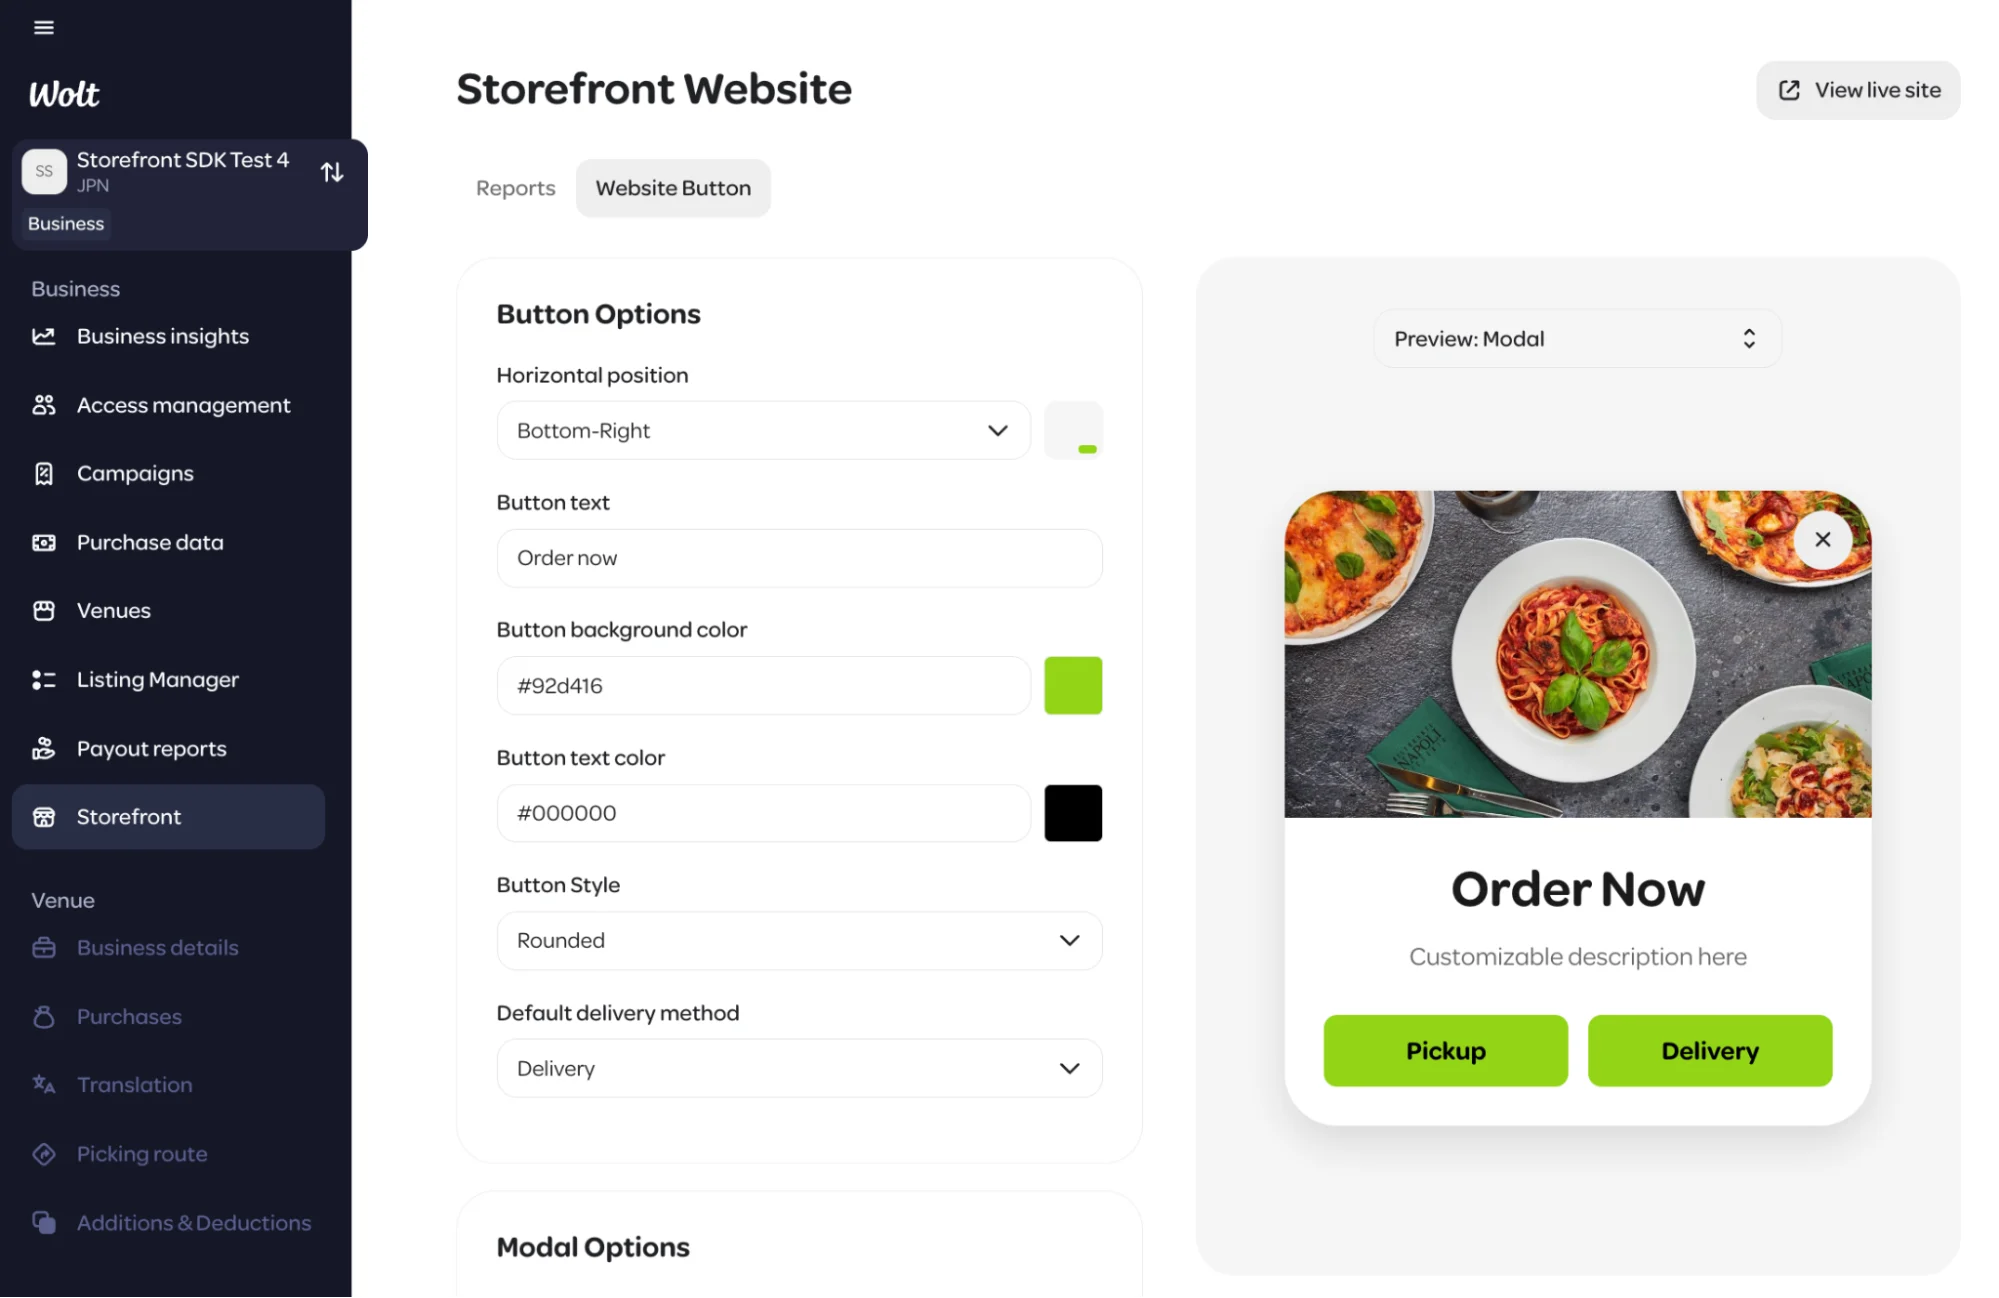
Step 2: Customize your button
You can change the look and behavior of your “Order now” button here.
Changes update live, so don’t worry if you want to tweak things later.
By default, the button links to your Storefront at order.site/<yourname>.
You can also turn on a popup modal that appears the first time someone enters your site. It won’t show again as they move between pages, but it will appear again on their next visit.
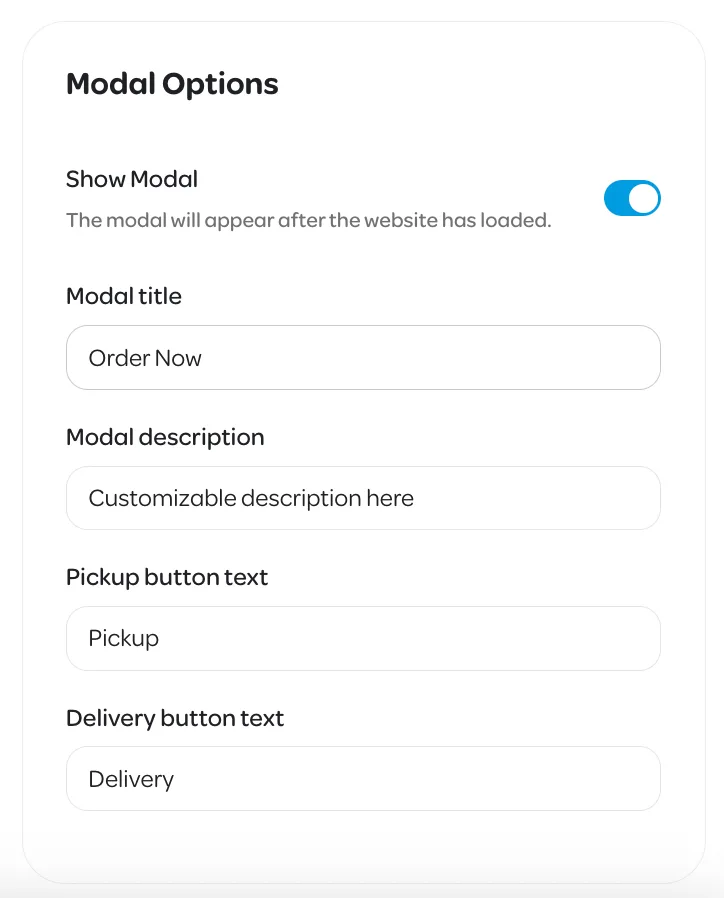
Note: The button uses your website’s font and always appears in bold for visibility.
When you're done, hit Save in the bottom right.
Step 3: Add the code to your website
The steps below are general. Your exact method may vary based on your site provider.
Log into your website editor (e.g. Wix, WordPress, Shopify, etc.).
Go to the section where you can add custom code to your site’s header.
You might need a free plugin to do this (see below).
In Wolt Merchant Portal, press “Show embed code” (bottom right).

Copy the code that appears.
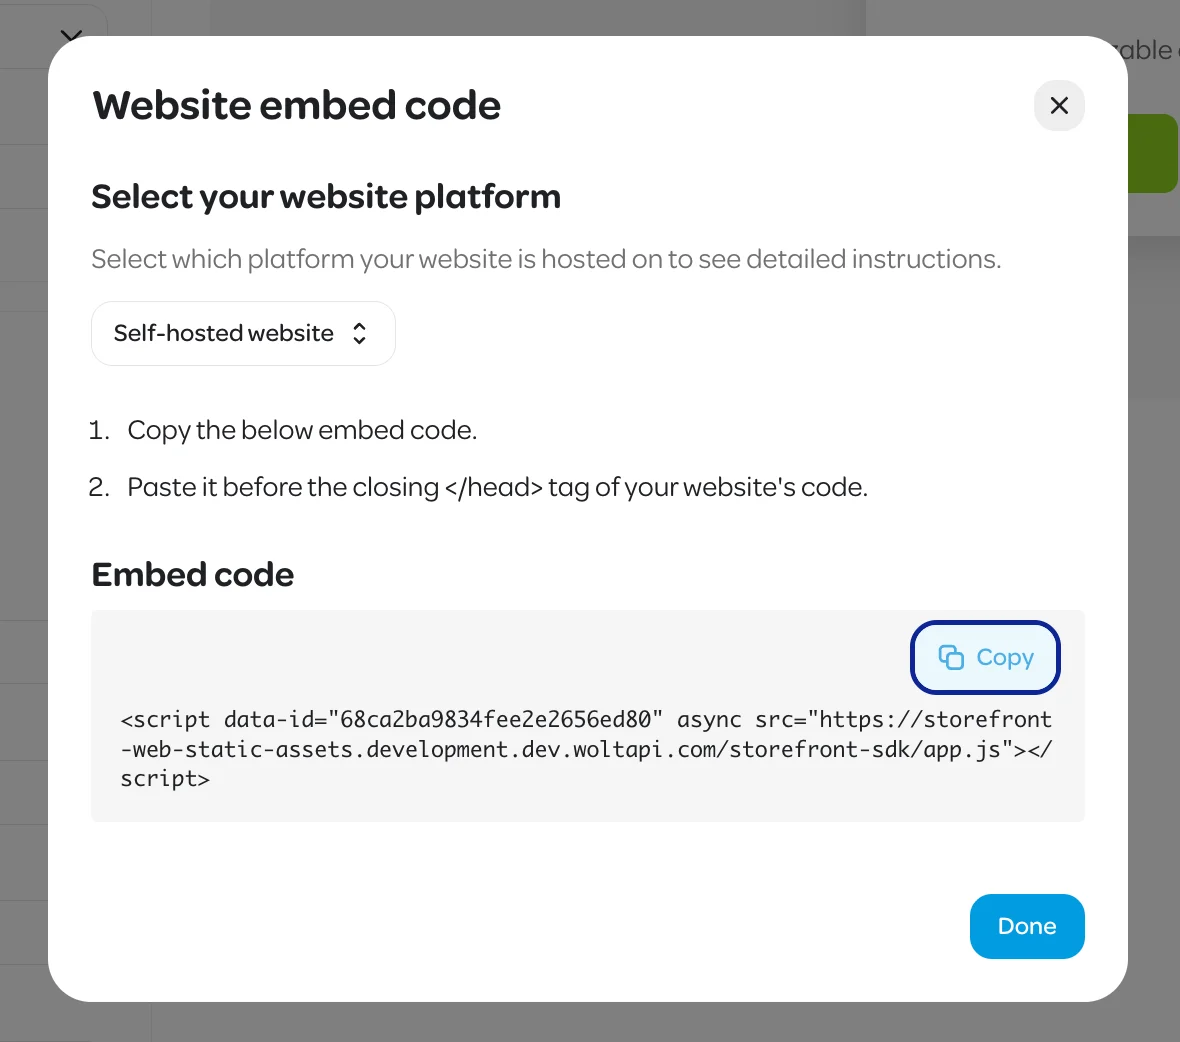
Paste it into your website’s header code section.
Press Save.
That’s it! You’re live. Open your website to check it out. Any changes you make later in Merchant Portal will update automatically.
Website-specific instructions
WordPress
Log into your WordPress dashboard.

Go to Plugins → Search for “Wolt Storefront SDK”.
Install the plugin and activate it.
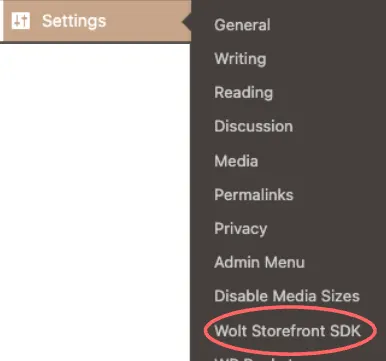
Go to the Settings section and select “Wolt Storefront SDK”
Paste the code from Merchant Admin into the Storefront Script Tag section.
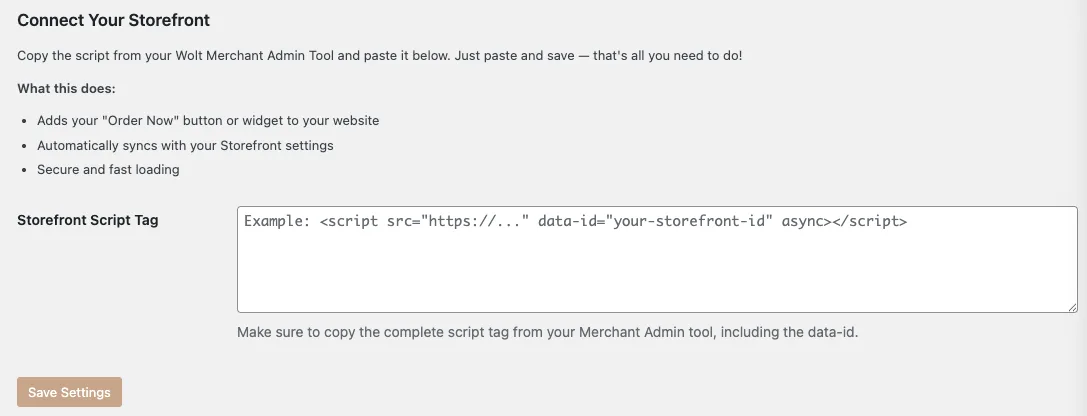
Press Save.
Done!
Wix
Log into your Wix dashboard.
Go to Settings → scroll to Development & Integrations → Custom code.
Click Add custom code.
Paste in the embed code from Merchant Admin.
Choose to display it on all pages.
Choose placement: Head.
Press Apply.

You’re set.
Other Platforms
We’re currently building out guides for other popular site providers, including:
In the meantime, try searching: “How to add custom code to [your platform] website header” If you get stuck, reach out to your Wolt contact — we’re happy to help.
FAQs
I made changes, but I don’t see them on my website. Why?
Your browser may be showing an older version. Try these steps:
Open your site in an incognito window.
Clear your browser cache.
Wait a bit, changes often update within a few minutes.